
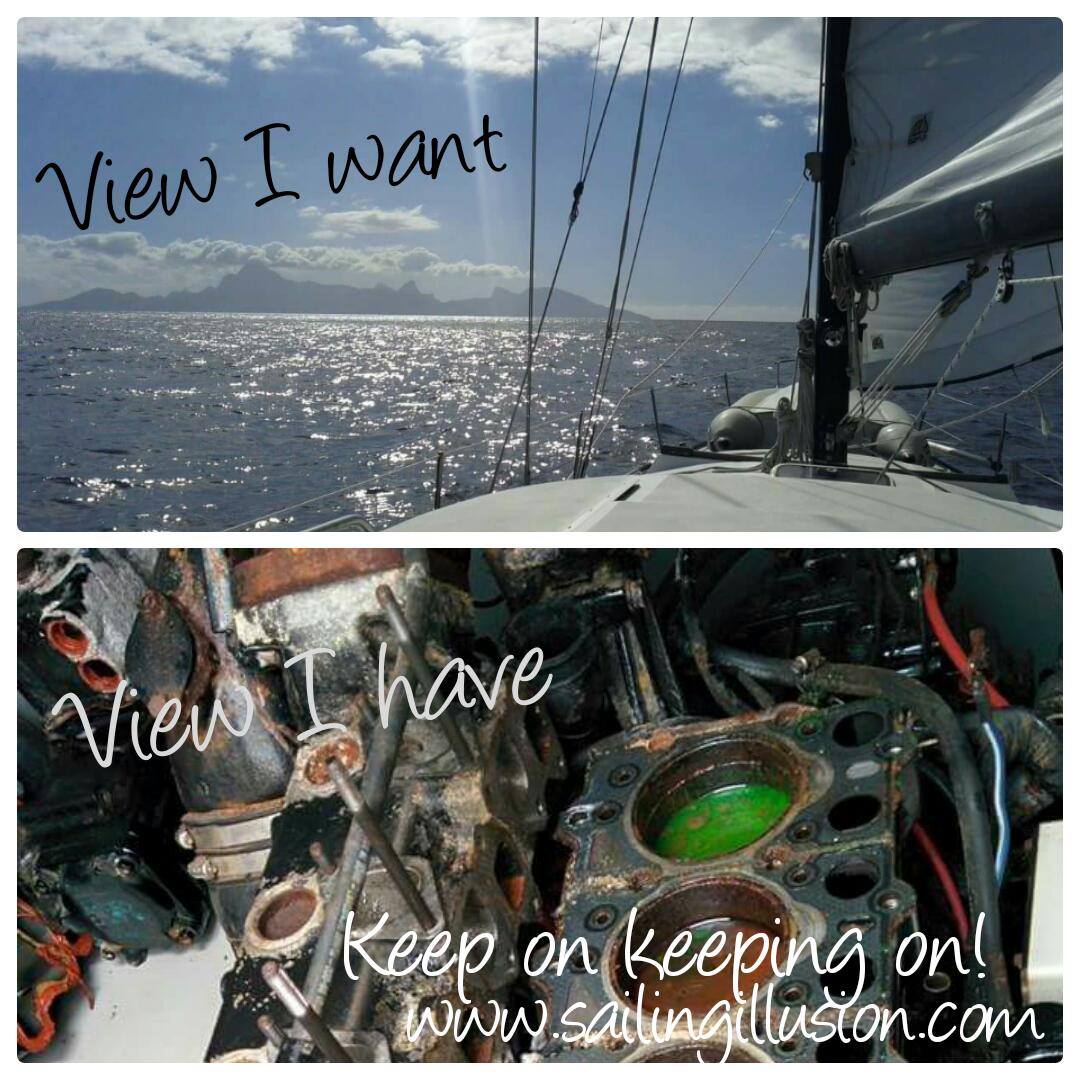
As those of you who’ve followed the blog for a while know all too well, Illusion‘s engine unexpectedly became a main focus over the last couple of years – we’ve written about it here, here, here, here, here, and here! We’ve probably talked and thought more about the engine – a MerCruiser D3.0L – than any other aspect of boat life, even sailing! But as we have a few new blog followers, and because a few people have asked, here’s an overview of the engine parts I’ve worked on/serviced/replaced since starting the preparations for this journey (not counting basic maintenance, such as filters & fluid changes), a few lessons learned (which might help you avoid a similar nightmare) and sources of information, just in case you too have fuel injector woes:
Engine Jobs
- New seals/overhaul for the transmission – after running fine for hours during our journey to the haul-out yard, it mysteriously began to leak a week or so before we planned to launch – Shop cost: NZ$1500.
- Glow plug delay timer – a few days out of NZ (while underway), I disassembled the relay-timer module and resoldered a loose capacitor – No cost.
- Check/serviced fuel injectors – many thanks to the engineers on Rapa who helped by providing an injector pop tester! I had a spare injector, so I was able to replace the nozzle in each injector with the known good one and determine that I didn’t need to buy whole injectors, just nozzles – Parts cost: US$330.
- Replaced broken fulcrum arm in injector pump
 – I didn’t get to see/photograph the linkages during disassembly, so I caused much more extensive engine damage by reassembling the governor incorrectly – Part cost: US$270.
 - Professionally rebuilt fuel injector pump – US$2200.
- Starter solenoid – this one surprised me. I wonder if the engine over-speed caused a localized voltage surge from the starter that shorted the solenoid coil. Interestingly, and maybe unrelated, my battery monitor has begun acting up when it’s connected to the engine during a start – Part cost: CA$50.
- Cylinder heads overhauled – all new gaskets: intake (intercooler) manifold (hand made, since they were not included in the engine gasket kit), exhaust manifold, head, valve cover – Parts cost: US$500; Shop cost: US$480.
- Heat exchangers cleaned and tested – coolant and oil are joined into one, transmission fluid is separate – Shop cost: US$130.
- Cleaned (in-place) corrosion from cylinder liners, piston heads, engine block – Supplies cost: US$10.
- Cleaned associated engine parts: intercooler (uses seawater to cool the turbo’s air before it enters the engine), intake manifold (routes turbo’s compressed air into the intercooler), exhaust manifold (directs exhaust gases to the turbo), valve covers, cooling hoses, exhaust system (output from the turbo) – Supplies cost: US$20.
- Extracted and replaced corroded bolts and nuts – Parts cost: US$15.
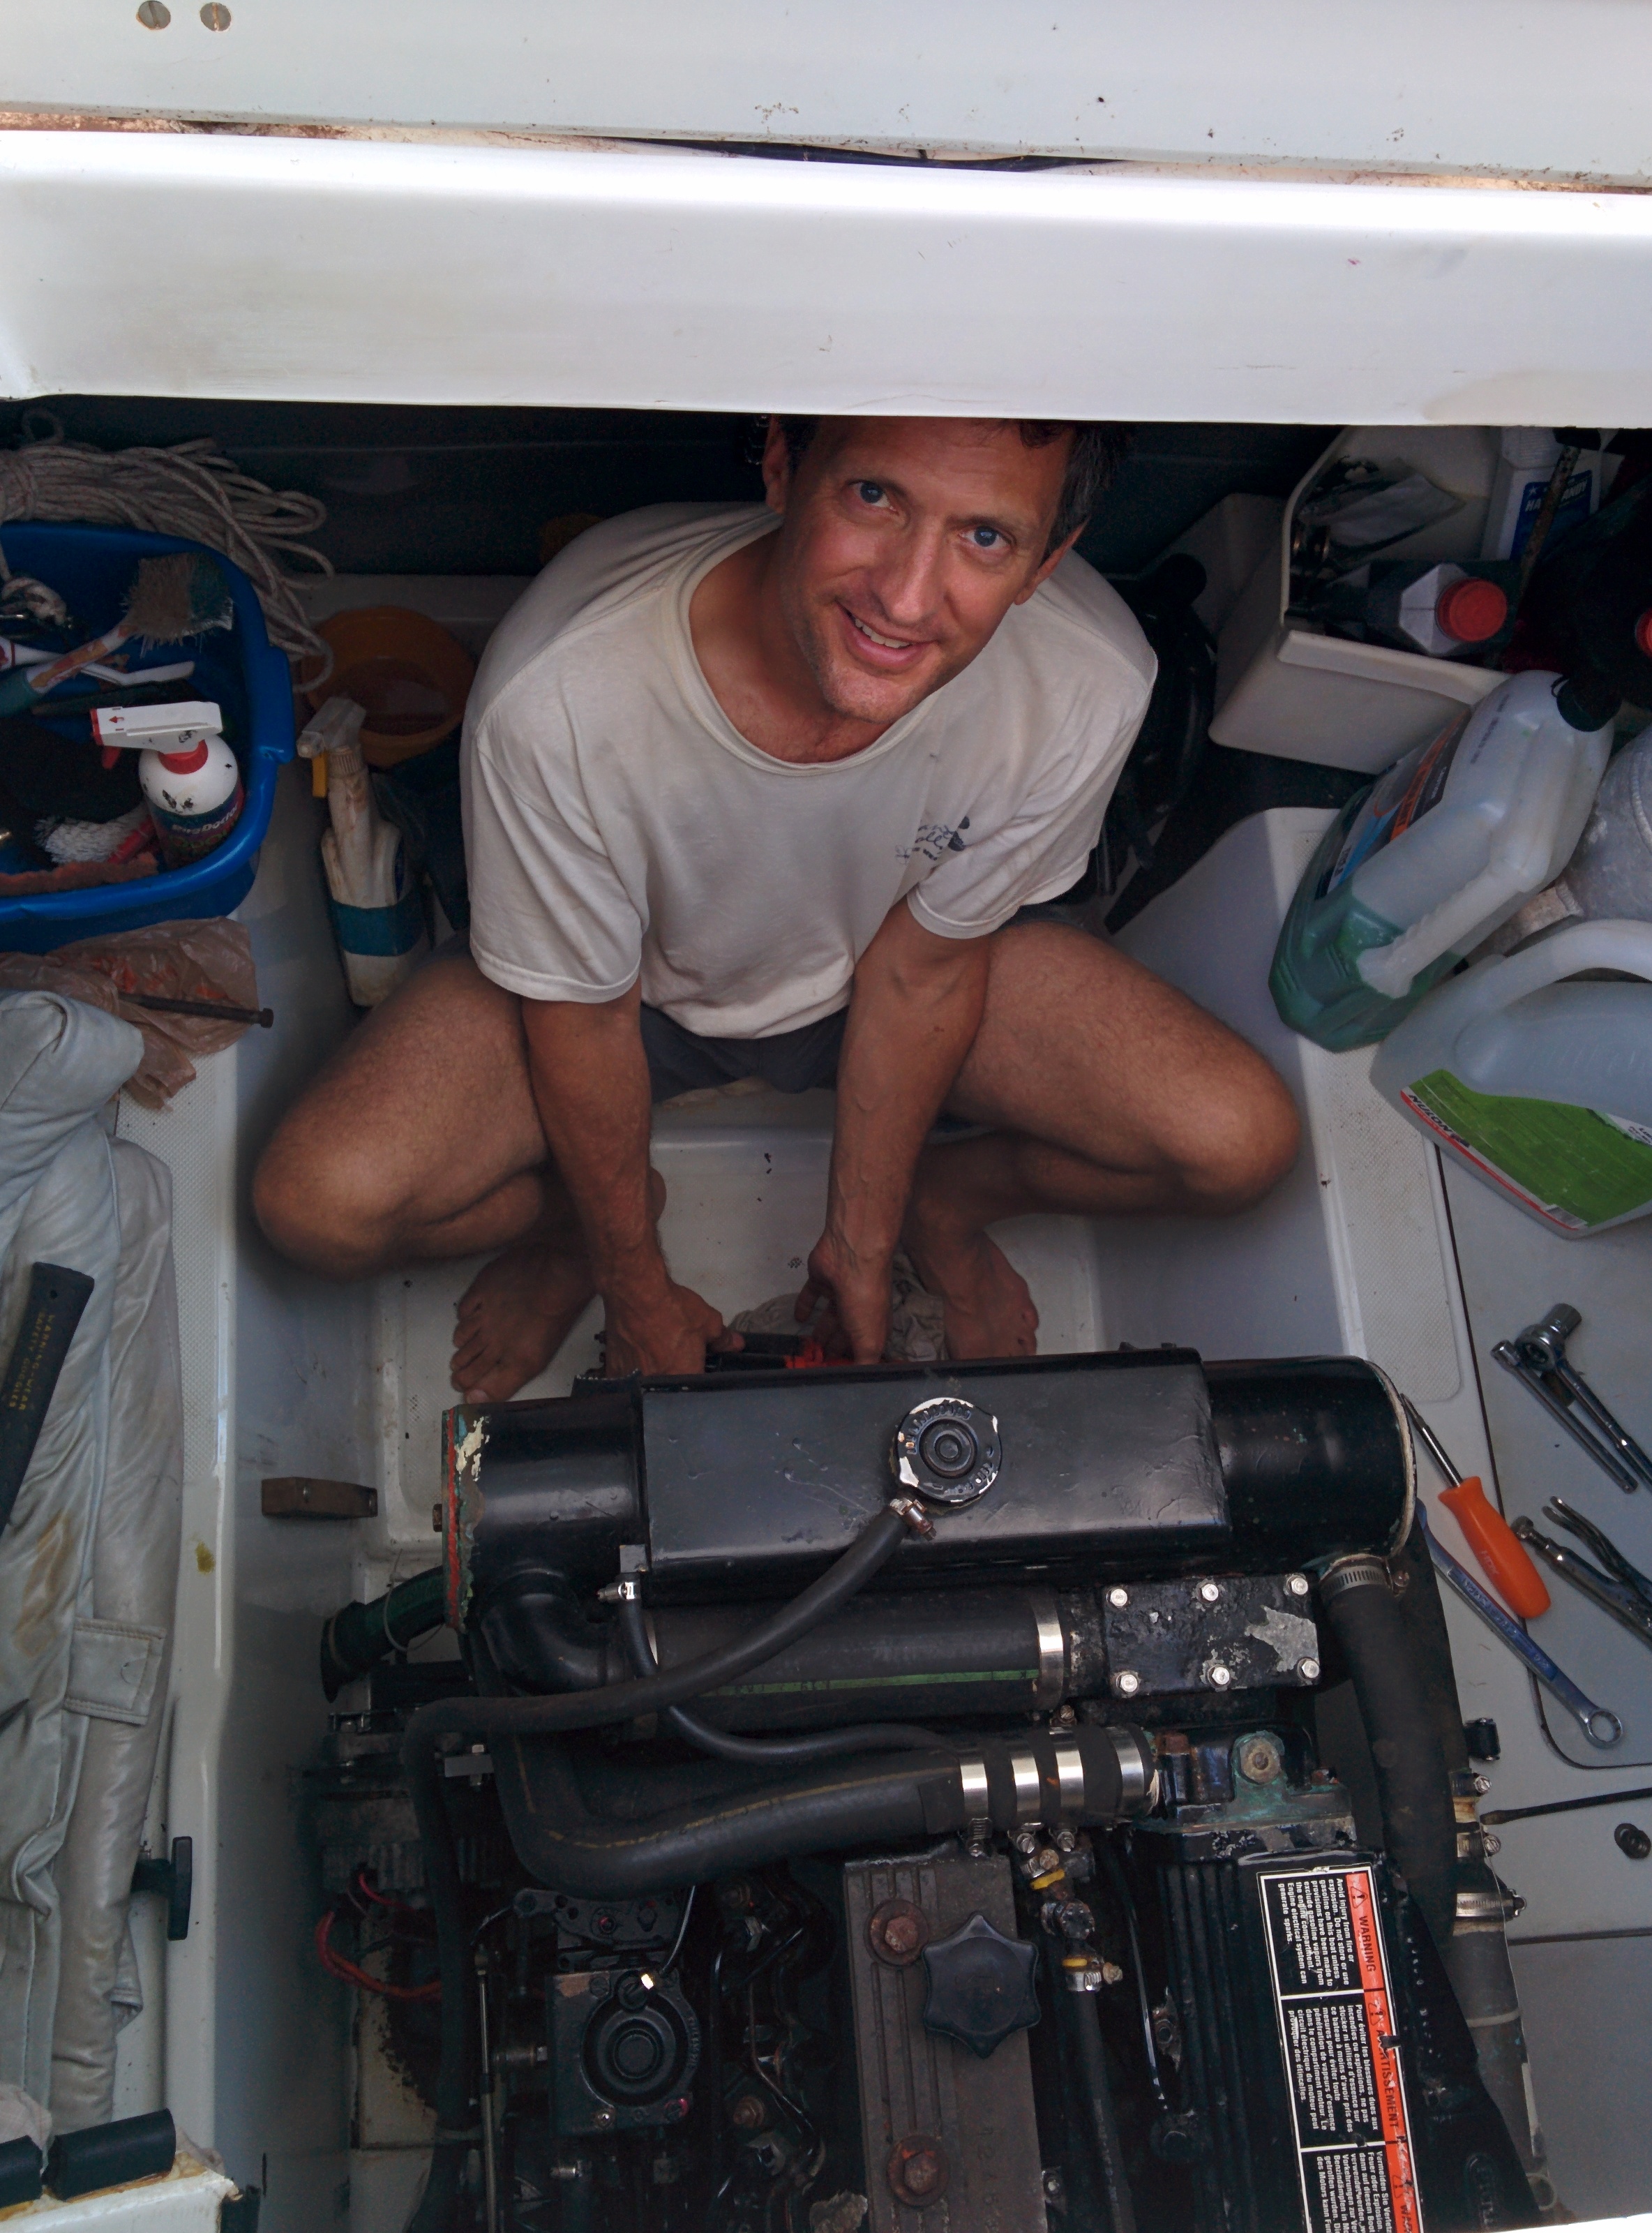
- Removed front engine timing cover to resynchronize,
Engine work, Oahu, Hawaii injector pump gear. Repair timing cover where it cracked because a bolt was missed during removal. Replace crankshaft timing cover bearing seal – Mechanic, repair & parts cost: US$500.
- Fix leaks in head gasket -After several partial disassemblies and retorquing the head bolts, I used a sodium silicate product to stop the final leaks – Part cost – US$25.
- Coolant leaked into engine oil, so several oil changes to remove the corrosive chemicals. Also, change the oil after using sodium silicate when there’s a coolant to oil leak, as any that reaches the oil system can damage the engine – Part cost (oil) – US$60.

Lessons Learned
- Something I read many years ago: install a Y-valve in the fuel tank vent line, just before it vents outside. It was on my “to-do” list in NZ, but I never made time for it. Initially, after I realized water had flooded the fuel system, I was upset that I had not installed that Y-valve, but could not understand how so much water had pushed its way through that line – about 6 meters (20′) of 6mm (1/4″) inner diameter hose. A couple years later, I noticed that the main fuel inlet port cap was not in the fully closed position (only a fraction of a turn off, so it wasn’t leaking). I checked inside and there were salt crystals in the fill pipe, so the salt water must have come through that way. A locking fill cap would have prevented this nightmare…
- The primary fuel filter is a Racor water separator and has a port for a water sensor to connect to an alarm. In all these years, I’ve only ever drained out a few millilitres of water every few months (from condensation), so I didn’t consider an alarm, but in this case, it would have been great to have.
- Don’t try to work on a fuel injector pump without proper facilities
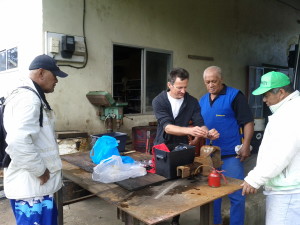
Engine work, Raivavae, Austral Islands, French Polynesia and knowledge. I successfully got mine pumping again, but didn’t assemble the governor linkages correctly, which caused the speed overrun, compounding my engine problems. At the time, it seemed like a good idea, but I still had to sail thousands of miles without an engine.
- Consider hiring a mechanic… I spent only a few thousand dollars (mostly parts) to rebuild this engine, including the fuel injector pump, but tens of thousands on marina fees in a place where I cannot use my sailboat. I’ve not had much luck hiring good mechanics, but if one could find a good mechanic, who could focus full-time on the rebuild, I could probably have sailed Illusion to Vancouver a year or two earlier and possibly spent those marina fees near where we live – a much more desirable outcome.

Resources
 While on Rapa Iti, I had to learn as much as I could about fuel injector pumps. It had always been a black box (literally… painted black) that worked and I never had to think about it. Suddenly I had to know more about all the pieces and how they interact to do the magic of keeping a diesel engine running correctly.Since there are no useful service manuals, I spent a fair amount of my time online, looking for manuals, websites and parts suppliers with online catalogs. I couldn’t watch videos, since the island’s link is via satellite and very limited bandwidth. I did find some excellent websites & a few PDF manuals. None covered my engine or pump exactly, but they were a tremendous help at the time. Here are a few of the most important documents:
- Injection pump removal, disassembly, cleaning, reassembly, and installation, GregZ, 9 Feb 2013, covers his work servicing a 2003 Jetta ALH-TDI. Great recommendations & pictures.
- The Robert Bosch VE-Type Distributor Pump, From: An Introduction to Compact and Automotive Diesels, by Edward Ralbovsky. Very good introduction to the type of pump on my engine and how each subsystem works, complete with drawings and operation sequences.
- Workshop Manual – BMW D 150, BMW, July 1982. This is a VM Motori engine (same Italian make as mine), but “dressed” by BMW, so it looks very different on the outside. I recalled walking past a BMW marine shop in Berkeley in the mid-1990s and noticing an engine that looked so much like mine that I had to go inside. Finding this service manual was a life-saver! The bolts, heat exchangers, basic plumbing, intake/exhaust/turbo are different, but the core of the engine is pretty much the same.
- Diesel distributor fuel-injection pumps (VE), Bosch, April 1999. This is the “technical instruction” manual for my type of pump – exactly what I needed to understand what I was about to take apart. Unfortunately, it doesn’t describe how to make sure all the governor linkages are correct while installing the governor cover. On second thought, it could be that the flyweights had some residual corrosion and didn’t operate properly… not exactly sure why my reassembled pump failed me.

It’s hardly the stuff that cruising dreams are made of, but it’s all part of the journey. I’ve certainly learned a lot more about diesel engines – if I can share any of that knowledge, I’d be happy to let you know more. Share your own engine dramas with us in the comments!
One thought on “Engine recap – overview of jobs, lessons, and resources”